

Counter-Strike 1.6 was one of the go-to games for many of us when playing games in the early 2000s. Counter-Strike itself was released on November of 2000 as a mod for Half-Life and then finally as its own game on January 2003 for version 1.6 Beta. Sorry if my history is not correct.
Anyways, I decided to throw a LAN Party (remember?) for some friends after they helped me install my new Ubiquiti network and run over 500ft of cables! For the LAN Party we decided to play classic games, like Quake 3 and Counter-Strike.
I soon realized that there was several Docker images. Some included mods, some included bots and some were not able to run on TrueNAS Scale. That’s why I decided to created a docker image that you can run with docker run or you can run on TrueNAS Scale.
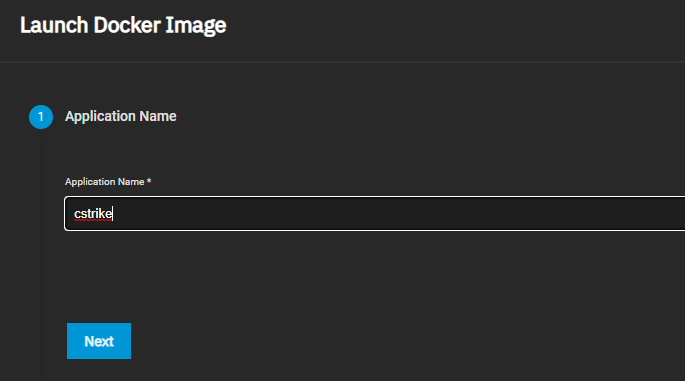
Enough of talk and let’s get this party started. First thing you need to do is open TrueNAS Scale and go to Apps. From there click on Launch Docker Image:

Give a name to the application. In my example I am using cstrike:
Now you will enter cajuclc/cstrike-docker for the Image repository:

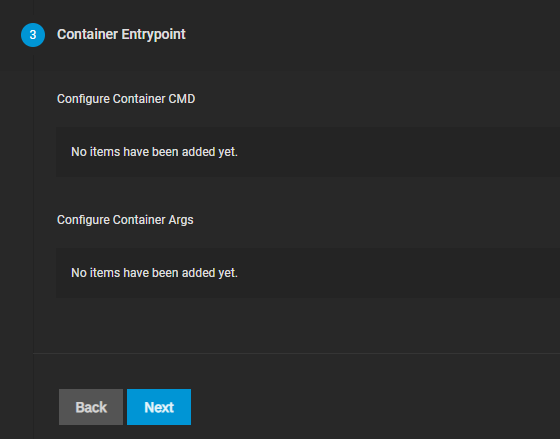
You can leave Container Entrypoint empty:
You can add some Environment variables in this step. I recommend leaving PORT to 27015 so you don’t have issues. Change MAP to the first map you would like to use.

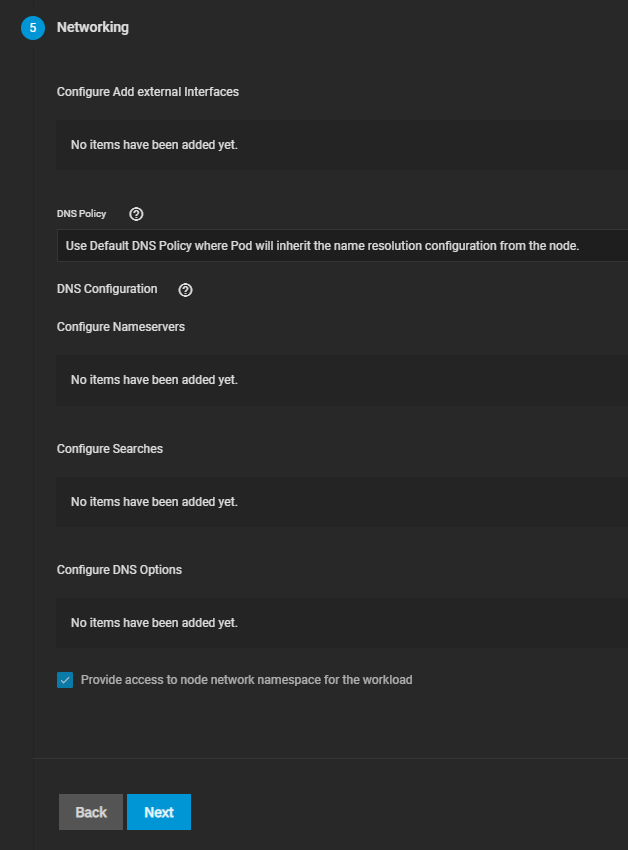
You can leave most of Networking alone, but if you want your Counter-Strike client to be able to discover the server, check/mark the Provide access to node network namespace for the workload box. If this is not important, you don’t have to check the box. You can still connect using connect SOMEIP:27015:
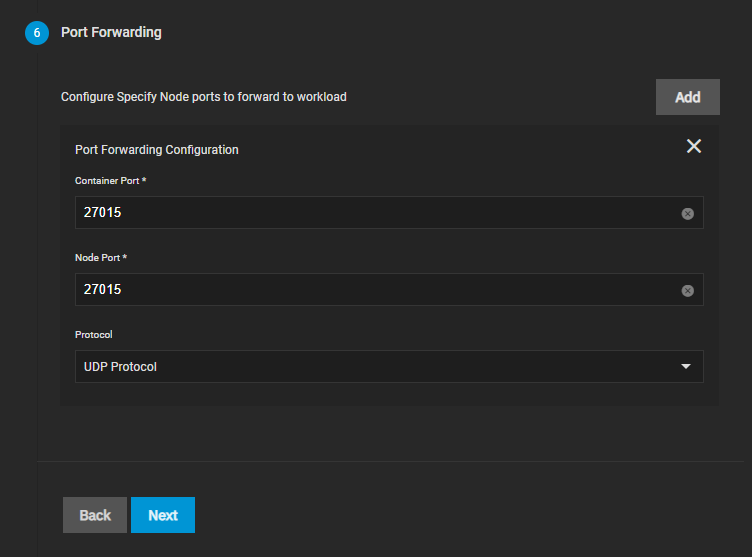
Make sure you create port forwarding on port 27015 as UDP Protocol:
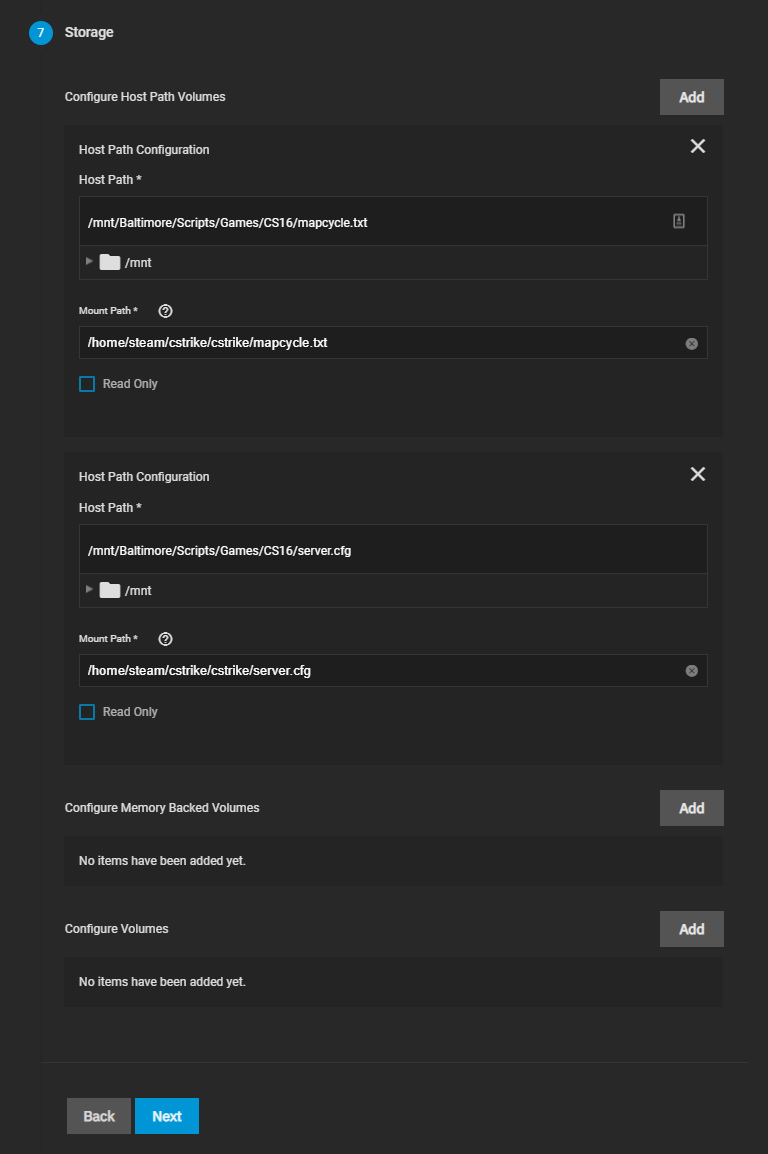
For Storage, you can also leave it empty. In my case I mount both mapcycle.txt and server.cfg:
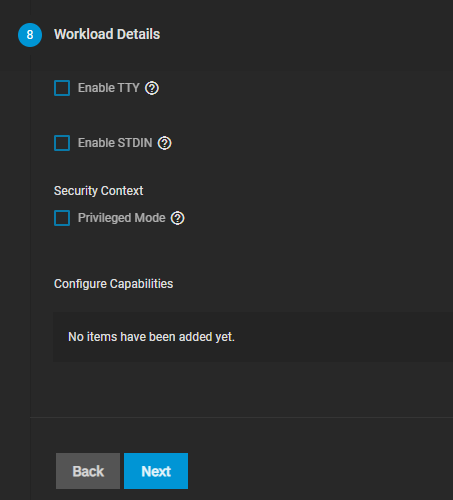
You can leave Workload Details empty:
Change Scale/Upgrade Policy to Kill existing pods before creating new ones:

You don’t have to allocate GPU:

Make sure all configuration looks correct:

If everything looks good, then click on Save. Once the the pod comes online, you can check the logs to make sure things work.
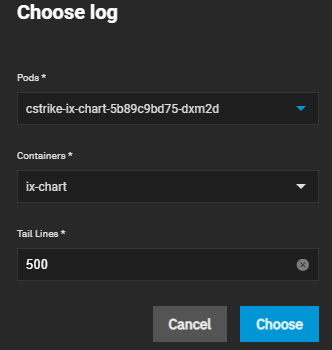
Click on the cstrike --> Edit --> Logs:

Select the pod:
And then you will see the bots playing already:

If you connect to TrueNAS Scale via terminal, you can run the command to check the check the pod (with the name we used):
k3s kubectl get pods -n ix-cstrike
The output would be something similar to:
1
2
3
truenas# k3s kubectl get pods  -n ix-cstrike
NAME                                READY   STATUS    RESTARTS   AGE
cstrike-ix-chart-5b89c9bd75-dxm2d   1/1     Running   0          99m
And you can check logs as well:
k3s kubectl logs -f $(k3s kubectl get pods --selector=app.kubernetes.io/instance=cstrike -o=name -n ix-cstrike) -n ix-cstrike
Now comes the fun part. Open Counter-Strike game on your computer and click Find Servers. You should be able to see your new server running under LAN.

If for any reason you don’t see the server right away, it could be several things. But you can connect to the server using the terminal inside the game. Press ~ on your keyboard and it will bring up the terminal. You can now connect using this command:
connect 192.168.10.150:27015

In the example above I am using the IP of my TrueNAS, so make sure you change the IP to your TrueNAS IP.
Podbot Menu
If you want to be able to use the Podbot admin menu, you need to configure your Counter-Strike client (the one you play the game) with password. First make sure you add the file podbot/podbot.cfg as a mount to your container. This is the folder in the container:
/home/steam/cstrike/cstrike/addons/podbot/podbot.cfg
Search for pb_passwordkey``, that’s the name we will need. In my case: pb_passwordkey "_pbadminpw"
Now I need the password, it’s the next configuration. Here is mine: pb_password "your_password" (make sure you change your password).
We have to configure the password on the client (game) now. Open cstrike folder inside Steam installation. In my case I use a separate disk for all my games and this is where Counter-Strike is installed:
E:\Games\Steam\steamapps\common\Half-Life\cstrike
I manually created a file called autoexec.cfg. If you already this file, you just need to edit. Add the line:
setinfo _pbadminpw "your_password"
Again, make sure you use some safe password. Now open the game and create a bind:
bind "=" "pb menu"
This way every time you press = it will open the Podbot menu and you can add, remove, kill bots and much more.
AMX Mod Menu
If you need to have access to AMX Mod Menu. Then mount file users.ini to this location:
/home/steam/cstrike/cstrike/addons/amxmodx/configs/users.ini
Here is an example of the file: users.ini
You need to add your user/IP/steam_id to the list. Then inside the autoexec.cfg file we just created/edited you can add:
setinfo _pw "mypassword"
We get the _pw configuration from amx_password_field "_pw", which comes from this file: amx.cfg
Well, now you have your own Counter-Strike 1.6 server running on TrueNAS scale. You can even add port forwarding to let your friends join from the internet if that’s the case. Just make sure you stop the app when you are not playing, unless you want the bots to play over and over again using resources of your NAS.
This has been super fun to build and I hope you have fun playing such classic game!
Até a próxima! Tchau!