

In today’s digital landscape, concerns over online privacy and security are growing. With the rise of data breaches and constant surveillance, protecting our online activities has become crucial. A Virtual Private Network (VPN) is a key tool in this scenario. It creates a private network from a public internet connection, hiding your IP address and keeping your online actions untraceable. Besides, it offers secure and encrypted connections, which is a level up from a typical secured Wi-Fi hotspot.
Today, we’ll look into PiVPN, a simple and effective VPN solution that can be installed on a Raspberry Pi, transforming it into a personal VPN server. This setup picks up from our previous post, where we installed Pi-hole on a Raspberry Pi to enhance DNS privacy. By having Pi-hole and PiVPN on the same Raspberry Pi, we are setting up a solid base for a private and secure browsing environment.
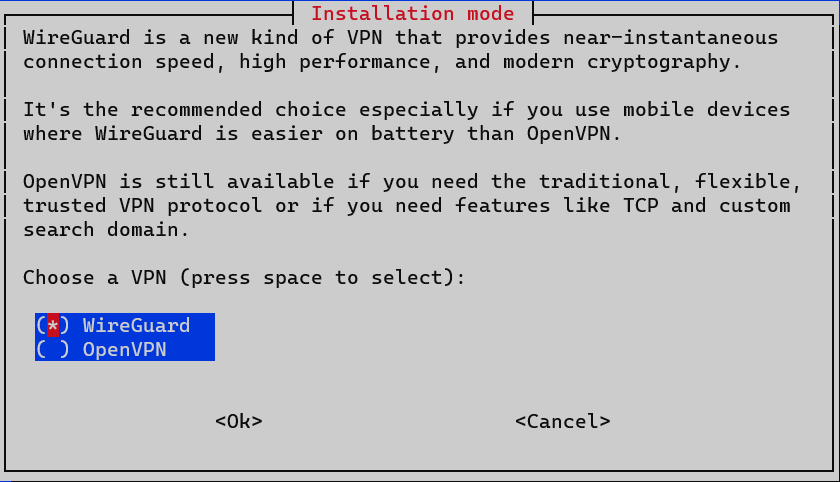
PiVPN provides two VPN protocol options: OpenVPN and WireGuard. While OpenVPN is a mature and robust VPN protocol, WireGuard is a newer entrant that brings along modern cryptographic protocols, better performance, and lower latency. Here are some advantages of WireGuard over OpenVPN:
- Performance: WireGuard operates in the kernel space, which makes it faster and more efficient compared to OpenVPN operating in user space.
- Cryptography: WireGuard uses state-of-the-art cryptography that is better and more secure than OpenVPN’s cryptographic protocols.
- Simplicity: WireGuard has a simpler codebase, which makes it easier to audit for security vulnerabilities.
- Connection times: WireGuard establishes connections faster than OpenVPN, which is especially noticeable on mobile devices.
- Roaming support: With WireGuard, your VPN connection remains intact even as your device switches networks (e.g., moving between Wi-Fi and cellular networks).
Given these benefits, we’ll be configuring WireGuard in our PiVPN setup to ensure a secure, fast, and reliable VPN connection.
Installation
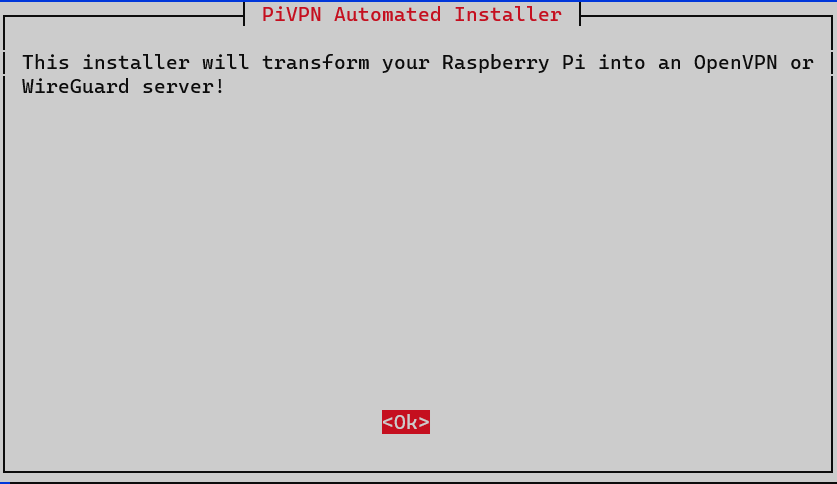
PiVPN simplifies the installation process with a one-liner. This script updates and installs necessary packages, then launches an interactive installer.
1
curl -L https://install.pivpn.io | bash
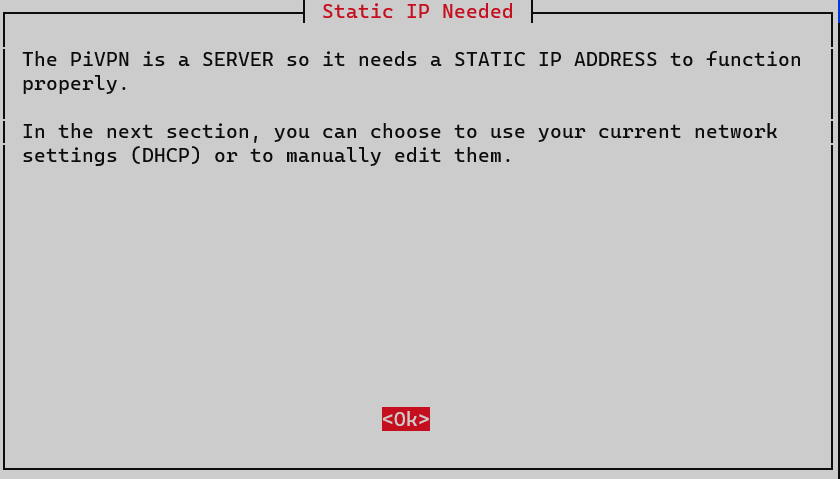
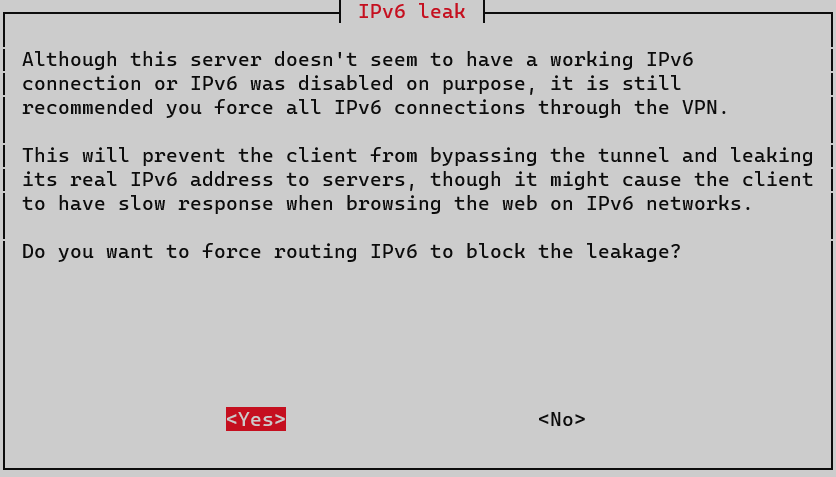
Just like Pi-hole, PiVPN requires a static IP. We’ll also choose to force IPv6 through the VPN.
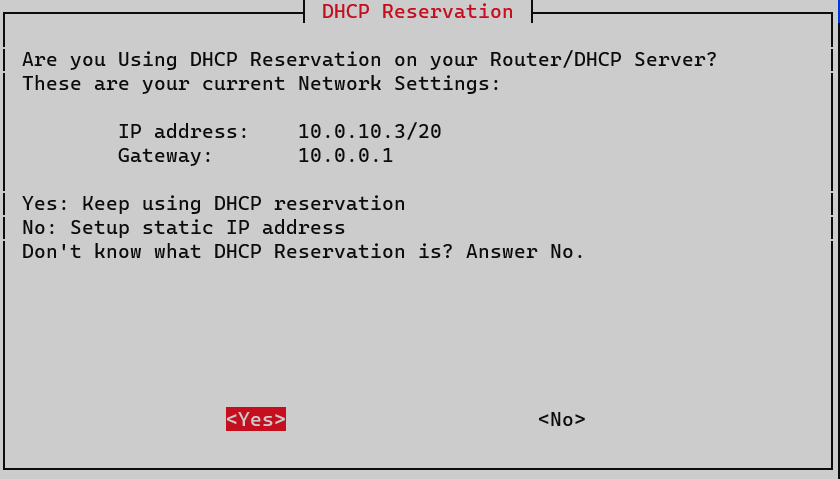
I’m using DHCP reservation to ensure a static IP exclusive to this Raspberry Pi.
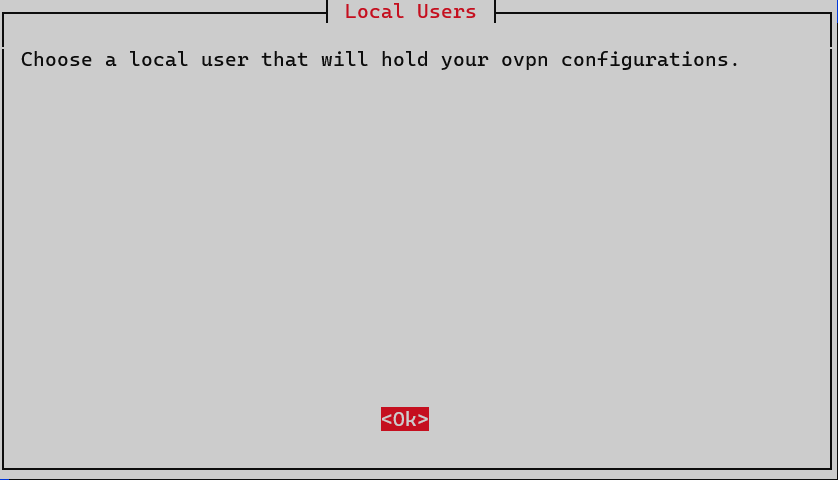
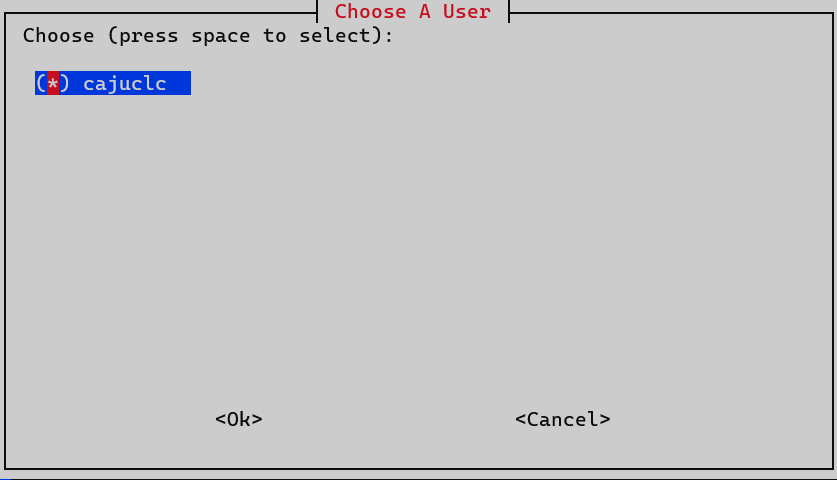
Now we’ll select a user to hold the configurations.
We choose WireGuard over OpenVPN for the VPN protocol.
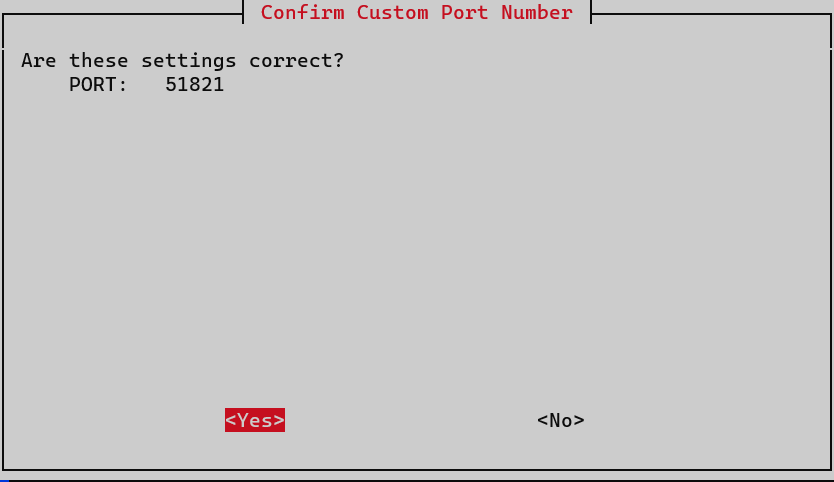
We configure the WireGuard port. Though the default is 51820, I’ll change it to 51821 due to an existing PiVPN on port 51820.

Since Pi-hole and PiVPN are on the same server, PiVPN will use Pi-hole as the VPN’s DNS server, providing ad-blocking on the go.

We can use either a public IP or a DNS entry for our VPN. I’ll choose the public IP option.

The installation now generates server keys.
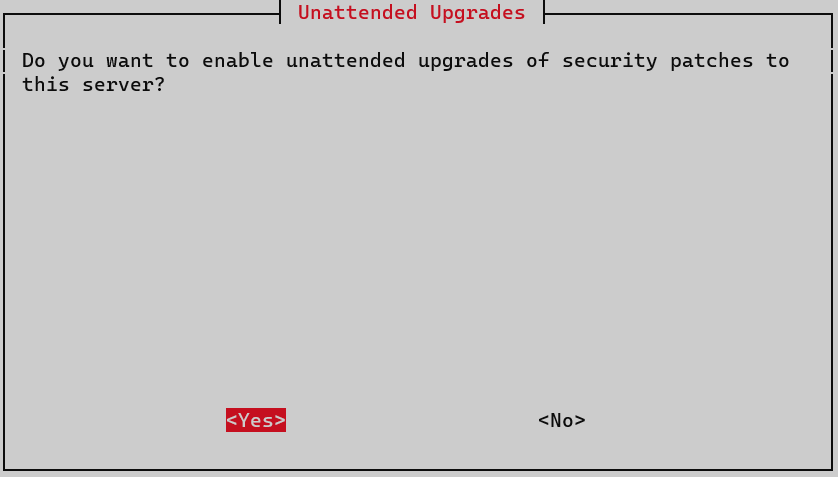
It’s recommended to enable unattended upgrades for security patches and updates.

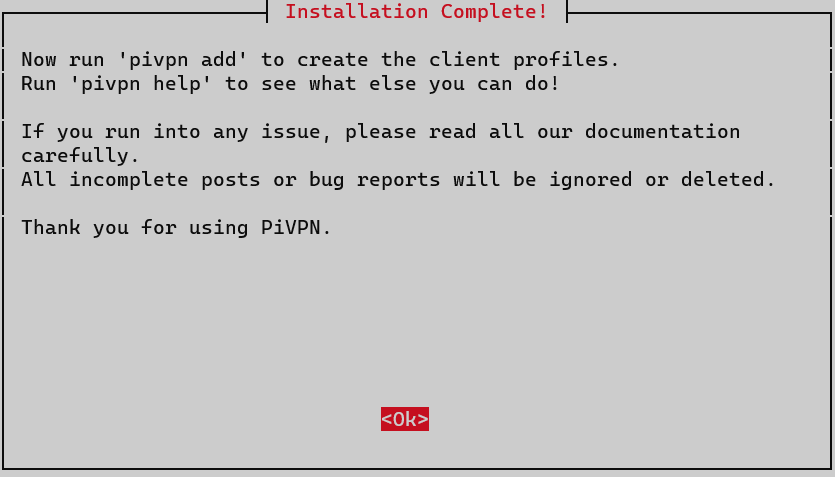
Congrats! With PiVPN installed, let’s reboot the server and set up WireGuard once it’s back online.


Port Forwarding
While our server is rebooting, we can go ahead and add a Port Forwarding to our router. I have AT&T internet and the router is configured to assign the WAN IP to the LAN client. That means that my public IP is assigned directly to my UniFi Dream Machine, which I use to manage my network. You must add the Port Forwarding to the device that manages that, it can be your internet provider router, your firewall, etc.
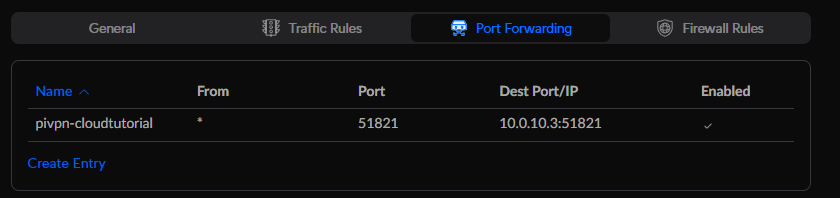
As I am using UniFi Network, I have to go to Settings –> Security –> Port Forwarding and Create Entry. I will give it a name, enable on both WAN and WAN2 (backup internet), from any source. Port is 51821 for me, but it’s the port you configured WireGuard. Forward IP is the server we installed PiVPN IP. Forward Port also 51821 and both protocols. I will not enable logging.

Client Configuration
Now that our server is back online and we are connected again, let’s create a new client configuration. For that, run the following command:
1
pivpn add
The command will prompt you to enter a name for the client. Let’s call it cloudtutorial. It will then generate the necessary keys and configuration files, update the server configuration, and update the hosts file for Pi-hole to recognize the new client.
1
2
3
4
5
6
7
8
9
10
11
12
13
Enter a Name for the Client: cloudtutorial
::: Client Keys generated
::: Client config generated
::: Updated server config
::: Updated hosts file for Pi-hole
::: WireGuard reloaded
======================================================================
::: Done! cloudtutorial.conf successfully created!
::: cloudtutorial.conf was copied to /home/your_username/configs for easy transfer.
::: Please use this profile only on one device and create additional
::: profiles for other devices. You can also use pivpn -qr
::: to generate a QR Code you can scan with the mobile app.
======================================================================
Now, to generate a QR code for easy configuration on mobile devices, run the following command on your PiVPN server:
1
pivpn -qr

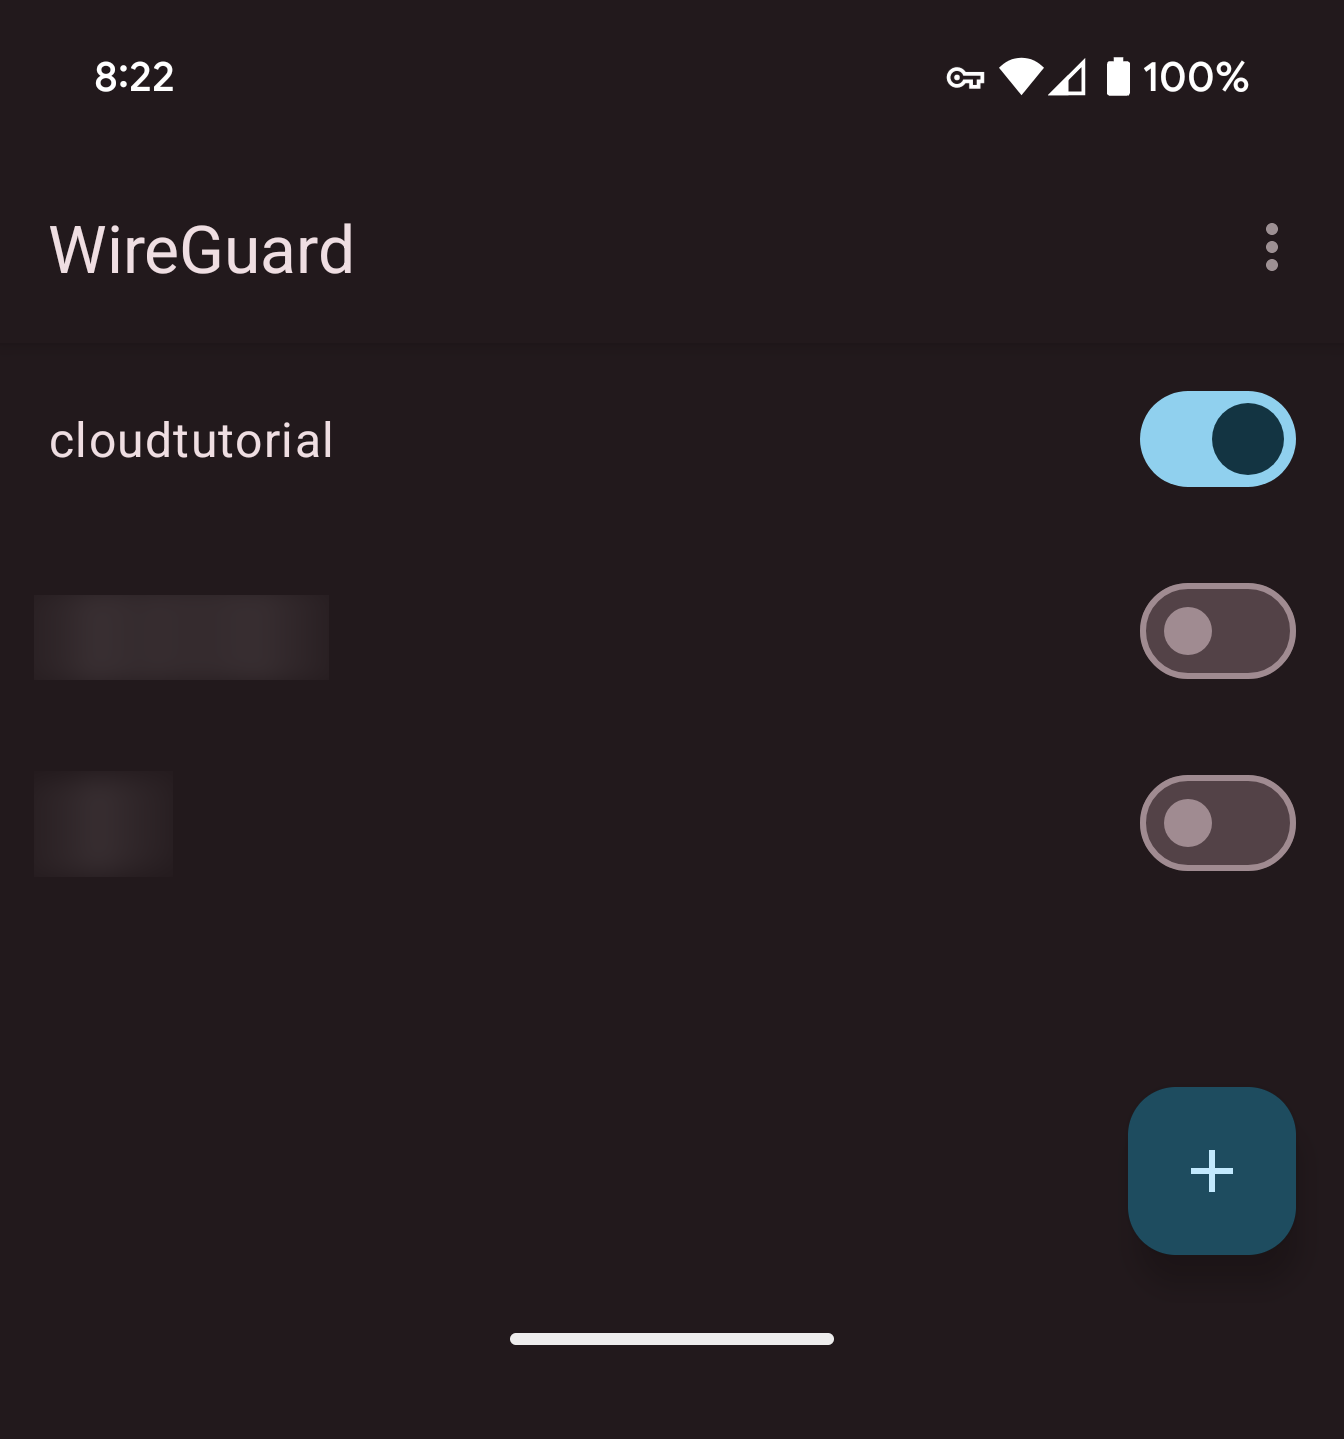
Download the WireGuard app from Google Play Store or Apple App Store. Open the app, tap on the ‘+’ sign, and select ‘Scan from QR code’. Scan the QR code displayed on your terminal to import the configuration.
Once connected, you can verify the connected clients on your server by running the following command:
1
pivpn -c
1
2
3
4
::: Connected Clients List :::
Name               Remote IP                Virtual IP        Bytes Received      Bytes Sent      Last Seen
cloudtutorial      192.168.40.47:45225      10.127.178.3      1.6KiB              284B            Oct 21 2023 - 08:18:05
::: Disabled clients :::
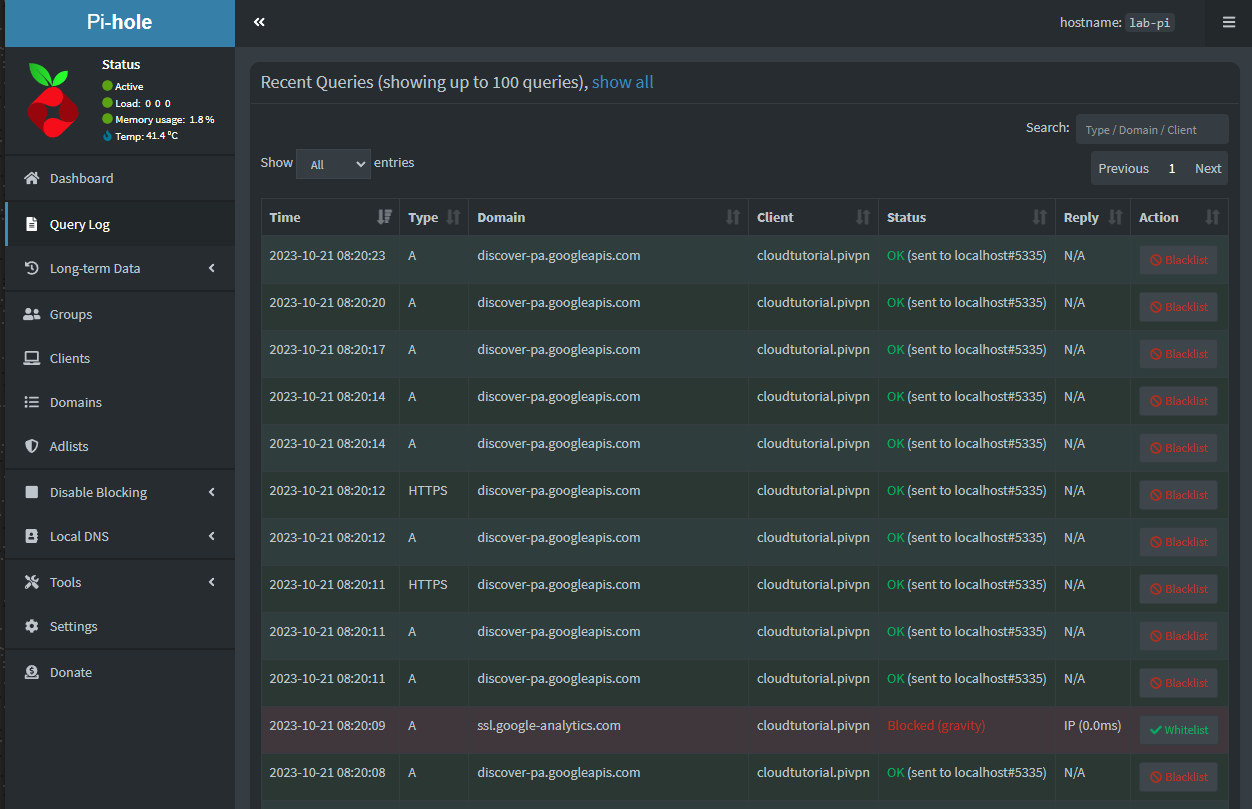
Now, when you open the Pi-hole Query Log page at http://10.0.10.3/admin/queries.php, you will see that the VPN is using Pi-hole for DNS resolution, and in this example, it’s already blocking some Google Analytics URLs.
Connecting to WireGuard
There are other ways to connect to WireGuard, for more information follow this link.
Wrapping Up
Through this guide, we’ve addressed the essential need for online privacy by setting up a VPN using PiVPN and WireGuard on our Raspberry Pi. This setup not only secures our online presence but also provides ad-blocking on the go with Pi-hole integration. Whether at home or on the move, having a private, ad-free, and secure connection is now within easy reach. This is a significant stride towards a safer online experience wherever we venture in the digital realm.